Case Study – From Start to Finish.
The following images will take you through the stages of a typical conservatory construction project, from the quotation to the finish.
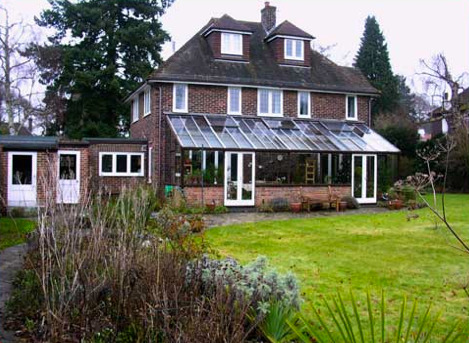
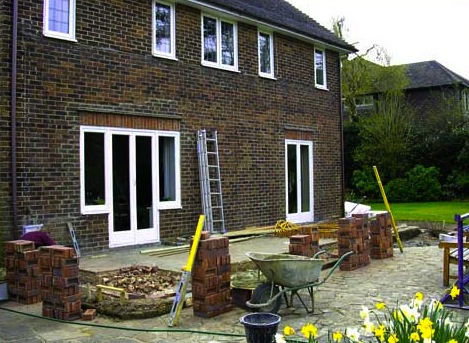
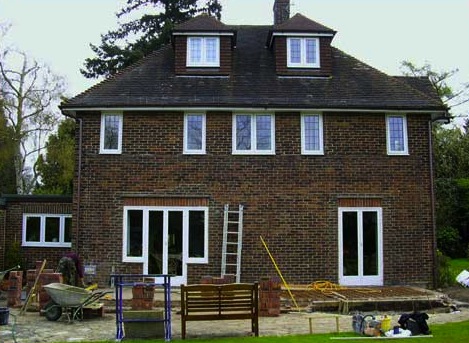
This first image shows the project before work commenced. The customer had an old wooden lean-to. The design brief was that they wanted a larger more interesting conservatory, that complemented the house. The preferred construction material was aluminium.
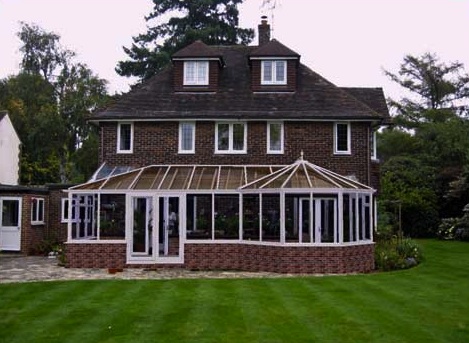
After the initial consultation, we create a design using advanced 3D rendering techniques. This is then superimposed onto an image of the property, as shown. In this case, the visualisation enabled the customer to decide that they would like to remove the dwarf wall in the bell end of the conservatory.
Once the final design is approved by our customer, the plans are submitted to the local authority. Planning approval normally takes 8 weeks, during which time processes such as checking for brick match and availability can be carried out.
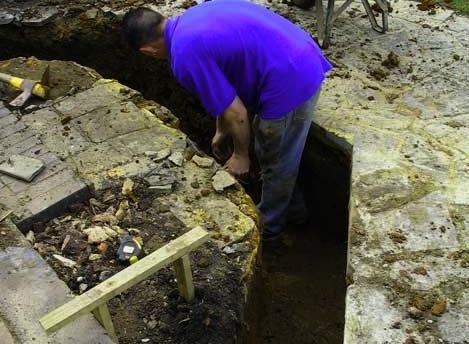
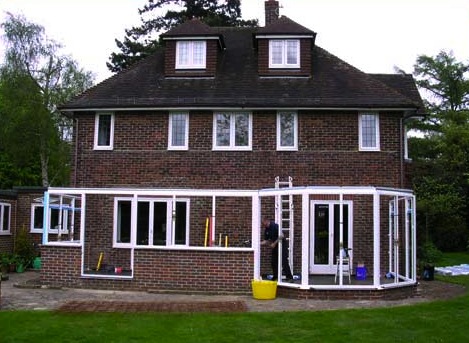
On arrival, they will begin by removing the original conservatory and demolishing the base. All debris and waste will be removed from site swiftly to keep disruption to a minimum and keep the site safe. Next, the building team will mark out the area for the new base, dig the foundations and pour the concrete to form the foundations.
In this case, because of the nature of clay soil, foundations were dug to a depth of 1 metre and then reinforced with steel cage and clay boards.
After a site survey, our experienced project managers will tailor the construction methods used in this way to make sure you get the best possible result.
Any building work is messy by its very nature, but our teams work hard to keep the site as neat as possible and safe at all times. For example, a prize manicured lawn that has to be walked upon will be protected by plywood boards, skips are placed on wooden bearers to protect the driveway and all material deliveries are unloaded onto large plastic sheets.
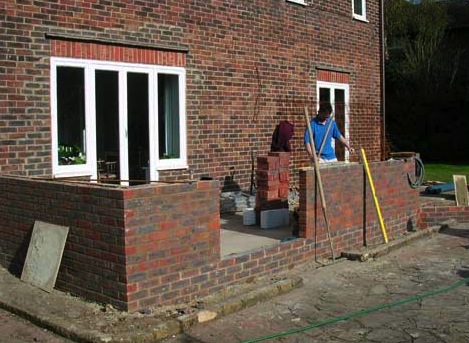
The next stage is laying the brickwork. Accuracy is checked at every course, using a laser level.
At this point bricks can be checked for blending and sympathy with existing brickwork. To achieve this we strive to match the original mortar mix & pointing style – the are the kind of details that make all the difference to the end product, as the numerous testimonials we have received illustrate.
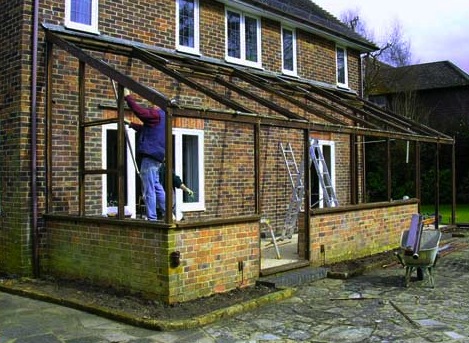
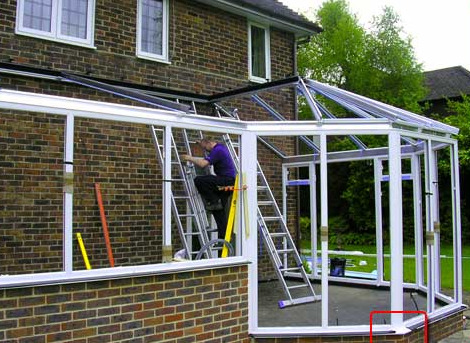
The installation team arrive on site with the conservatory frames. This is the point at which things really begin to take shape and all the planning starts to become a reality.
At this stage the roof really begins to take shape. The use of squint bricks here, has formed the correct bay angle and ensured a perfect finish to the brickline.
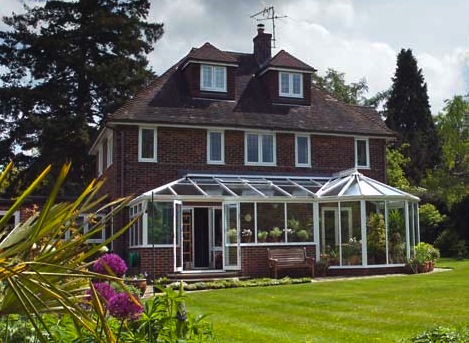
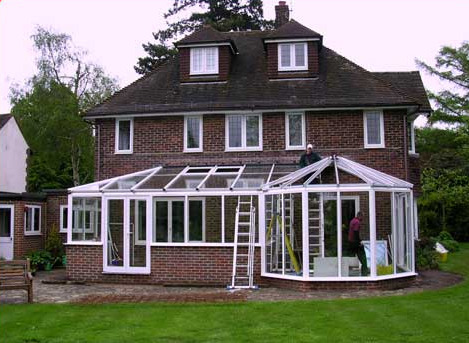
Glazing the roof marks the start of the final phase of construction. We use high performance glass which helps to achieve an extremely high level of insulation. Our argon filled sealed units achieve a u-value of 1.1.
In the case of this project, we installed the floor tiles and fitted the electrics. In addition, we can also provide plastering, furniture, blinds, tiling and electric fans to complete your ideal garden room.


